Title here
Summary here
In this guide, we will explore how to build a MaPS runtime by detailing step by
step instructions to build a runtime for the benchmark Synthetic parametric
model - MOR
Wiki. If you
follow this guide exactly, as the end result, you should have a runtime
identical in all but name to
org.modelreductino.synthetic-parametric-mode/x86_64/3984.
As a first step, make sure you have a working install of MaPS. Follow the steps on the installation page to install MaPS.
You can check that MaPS is in a working condition by listing all available runtimes :
$ maps --list
Available runtimes are :
Official
        - 2023-12-07  base/x86_64/debian
        - 2024-11-18  github.anantharaman.vibrant/x86_64/1.2.1
...While a runtime is being built, we call it a sandbox, to emphasize its mutable
nature. A sandbox is a directory which contains everything required to run your
software. Not just the direct dependencies (e.g. scipy), but also indirect
dependency and library (e.g. bash, gcc). To make the process of populating
all dependencies easy, MaPS allows generating a starting point based on the
Debian minimal image. Initialize a new directory with this Debian minimal image:
$ maps package --init benchmark-sandboxOnce you have a sandbox in place, you can enter it in interactive mode. This is almost as if you SSH into a fresh install of Debian Linux. There are the basic utilities available, and you can handcraft your environment exactly as your software needs.
$ maps package --sandbox bencmhark-sandboxYou can check that you are now in the sandbox if your input prompt has changed
to root@runtime. Note that even though it appears that you are root in the
sandbox, you are not really root outside the sandbox, and in particular, you
don’t need sudo permissions. In fact, the sandbox comes with strong
compartmentalization: things you do in the sandbox will not affect your computer
outside of the sandbox.
Now that we have an interactive prompt in the sandbox, let us install the required environment for the benchmark.
We need python, pip, scipy, matplotlib, and optionally jupyter, to
make viewing the resulting figures simple. We should also update the software
in the sandbox before we install the pre requisites specific to our program.
root@runtime:~# export FAKEROOTDONTTRYCHOWN=1
root@runtime:~# fakeroot apt update
root@runtime:~# fakeroot apt full-upgrade
root@runtime:~# fakeroot apt install nano python3 python3-pip
root@runtime:~# pip install scipy matplotlib jupyter --break-my-system
Please see the fakeroot section of the documentation for discussion of why we need the fakeroot workaround for some tasks
In newer versions of
pip, the option--break-my-systemis necessary becausepiptries to protect you from generating universal conflicts with your system’s package manager. As the runtime is a single self contained archive which does not expect to receive changes or updates, this does not pose a problem for us in this particular use case, and the option is safe to use.
With our environment set up, we are ready to start including data files into the sandbox. This data could be anything which complements the software you are trying to package: the source files, compiled binaries, input data, accompanying metadata.
For our benchmark, this means to include the input script.
Run jupyter:
root@runtime:~# jupyter notebook --allow-rootThis will launch the jupyter server in the sandbox. As we have not installed a browser in the sandbox, a browser will not be auto launched with the command. But, the output will include a line like
http://localhost:8888/tree?token=371f262927eafb0236f242976a146f93b228e9b52b5fb36d
which you can copy-paste into your regular browser to open the jupyter notebook interface.
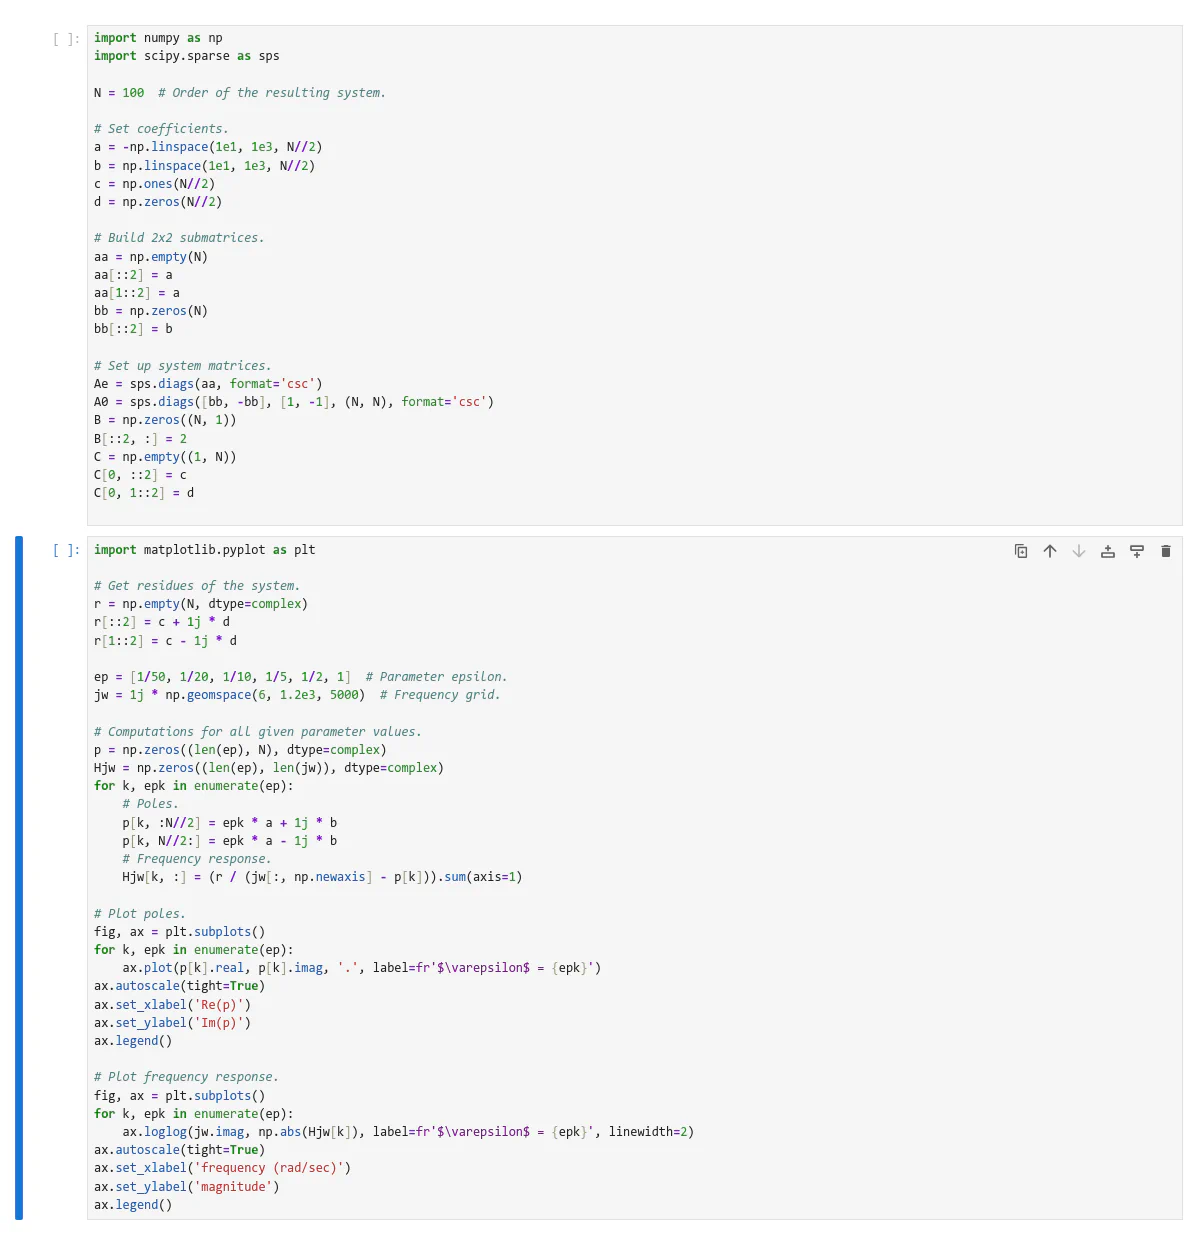
Using the newly opened jupyter interface, make a file called Benchmark.ipynb,
and put in the input script. You can also optionally execute the the files so
that the output is saved in the file, for your users to view without needing to
rerun.
Your jupyter notebook should look something like this:
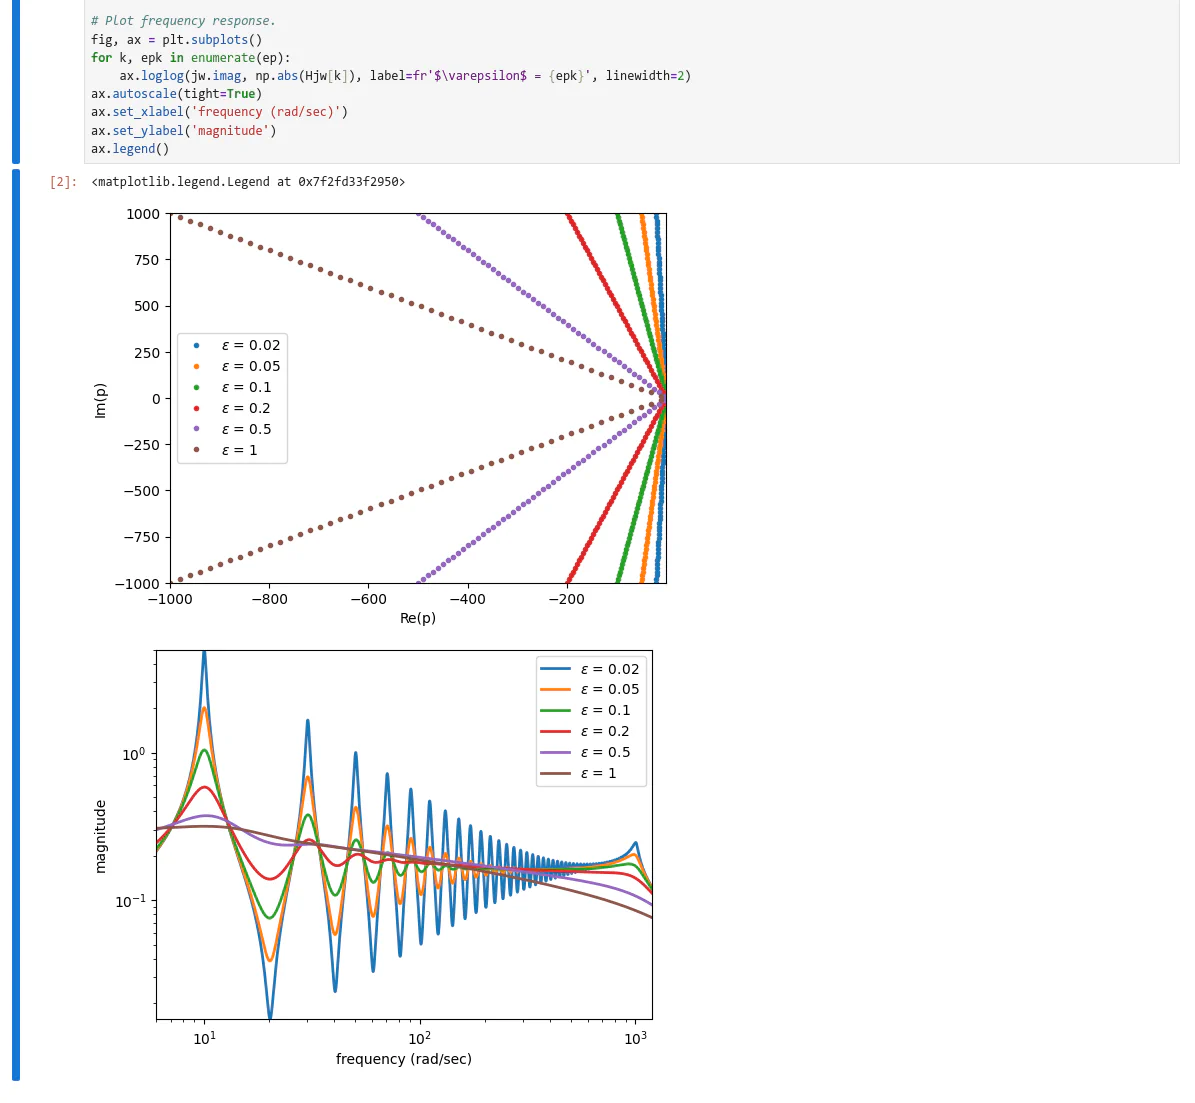
If you chose to run the script (like the official runtime), then they will also include the output:
Once you are happy with how the file looks, quit the jupyter server by hitting CTRL+C in the terminal window. After exiting jupyter, you should be greeted by the runtime prompt again.
We need
--allow-rootinjupyterfor similar reasons as--break-my-systeminpip. These applications try to protect you from the bad practice of running these tools as root. But since we are in a runtime, and we only appear as root without having any of the super powers, this is acceptable.
We are now ready to add the final polish to the sandbox before publishing!
The sandbox should include a manifest.toml file in its root directory. This
file includes arbitrary metadata associated with the final runtime, and also,
critically, the command to execute for the user when starting the runtime. This
allows, for example, to execute jupyter notebook directly when a user tries to
execute a runtime, instead of including the command in instructions.
Create a manifest file in the sandbox:
root@runtime:~# nano /manifest.tomlCopy and paste the following snippet into the manifest file, and then save.
[Core]
command = "python3 -m jupyter notebook --allow-root"

[Meta]
URL = "https://modelreduction.org/morwiki/Synthetic_parametric_model"
Type = "Benchmark"
Title = "Synthetic parametric model"
You can now exit the sandbox by typing exit. This will return you to your
normal system prompt.
You can now commit your runtime! This is akin to taking a snapshot of the
current state of your sandbox, and preserving it. You need to provide a name to
this snapshot. The recommended standard for this is a reverse DNS format,
followed by the architecture and version. The official repository for MaPS
runtimes enforces this naming scheme. An example name in the correct format is
me.myname.my-awesome-software/x86_64/v1.0
Commit your sandbox into a runtime :
$ maps package --commit benchmark-sandbox "my.myname/my-awesome-softare/x86_64/v1.0"You can publish your runtimes on the Official MaPS software repository. To do this, you will require an authentication string, with a limited time validity. This is to try to combat spam. Please with some information about who you are and what software you want to upload, and we will provide you this authentication string. Once you have it, you need to provide it to MaPS as an environment variable, and MaPS will upload your software to our servers. After a manual review, making sure everything is in order, we will make your software available on the Official repository.
Assuming the authentication string you got from us is
myname:51afb317-b7f3-4203-b11d-63fea0d65b85, to upload your runtime :
$ export MTDAUTH="myname:51afb317-b7f3-4203-b11d-63fea0d65b85"
$ maps package --upload "my.myname/my-awesome-softare/x86_64/v1.0"